How to Make Wire Coil Jewelry
Are you looking for tips and tricks on how to make wire coil jewelry? If so, you have come to the right place! This guide will provide you with everything you need to know in order to make your very own wire coil jewelry.
Tools and Materials Needed:
-Wire cutters
-Round nose pliers
-Flat nose pliers
-Wire (copper, silver, or gold)
-Clasp (if desired)
Instructions:
1. Begin by cutting a length of wire that is approximately 2 feet long. You can use any type of wire for this project, but we recommend using copper, silver, or gold.
2. Next, use your round nose pliers to create a small loop at one end of the wire. Make sure that the loop is small enough so that it can easily be hidden once the coil is complete.
3. Once the loop is created, begin wrapping the wire around itself to create a coil. Wrap the wire as tightly as possible in order to ensure that the coil is secure.
4. Continue wrapping until you have reached the end of the wire. Once you are finished, use your flat nose pliers to gently squeeze the end of the wire so that it is flat against the coil.
5. If desired, you can now add a clasp to one end of the coil using your round nose pliers. Simply create a small loop and attach it to one end of the coil.
6. Your wire coil jewelry is now complete!
The Tools You’ll Need
In order to make wire coil jewelry, you will need some specialized tools. First, you will need a pair of wire cutters. These can be found at most hardware stores. Second, you will need a mandrel. A mandrel is a tool that is used to shape wire. You can find mandrels at most craft stores. Finally, you will need a set of pliers. Pliers can also be found at most hardware stores.

Now that you have all of the tools you need, let’s move on to the next step: creating your design.
The Wire
The type of wire you use is important for both the look and the function of your jewelry. For most jewelry, you will want to use a non-tarnish craft wire. This type of wire holds its shape well and doesn’t tarnish as quickly as other types of wire. If you’re using a beading wire, make sure to get one that is the right size for your beads. You don’t want a wire that is too big or too small.
Copper and aluminum wire are also popular choices for jewelry making. Copper is a bit softer than craft wire, so it’s easy to work with but it can be tricky to get it to hold its shape. Aluminum is lightweight and has a silvery color that can be beautiful in certain types of jewelry. It’s also easy to work with but may not be as strong as other types of wire.
If you’re using a metal that is prone to tarnishing, you can try coating it with a clear nail polish or Jeweller’s lacquer before you start working with it. This will help protect the metal and keep it from tarnishing too quickly.
Making the Coil
1. Begin by measuring out the length of wire you will need to make the coil. Add an extra inch to allow for movement and adjust the size of the coil as needed.
2. Cut the wire with wire cutters and use needle nose pliers to create a small loop at one end of the wire.
3. Wrap the wire around a dowel rod, mandrel or other round object to create a tight coil. The number of times you wrap the wire around the object will determine the thickness of your coil.
4. Once you’ve reached the desired thickness, use needle nose pliers to remove the coil from the mandrel.
5. Trim any rough edges with wire cutters and then gently stretch out the coil until it is about an inch in diameter.
Finishing the Coil
Once you’ve made it to the end of your wire, it’s time to finish off the coil. You want to make sure the end is neat and secure, so the first step is to thread the tail end of wire back through the last few coils. This will help to keep everythingtogether.Next, use your pliers to twist the wire tail around the base of the coil a few times. Once you’ve done that, snip off any excess wire with your wire cutters.
Adding the Beads
If you want to add beads to your coil jewelry, there are a few things you need to keep in mind. First, you’ll need to make sure your beads are the right size. If they’re too small, they’ll just fall right through the coils. If they’re too big, they won’t fit snugly against the wire and will look odd.
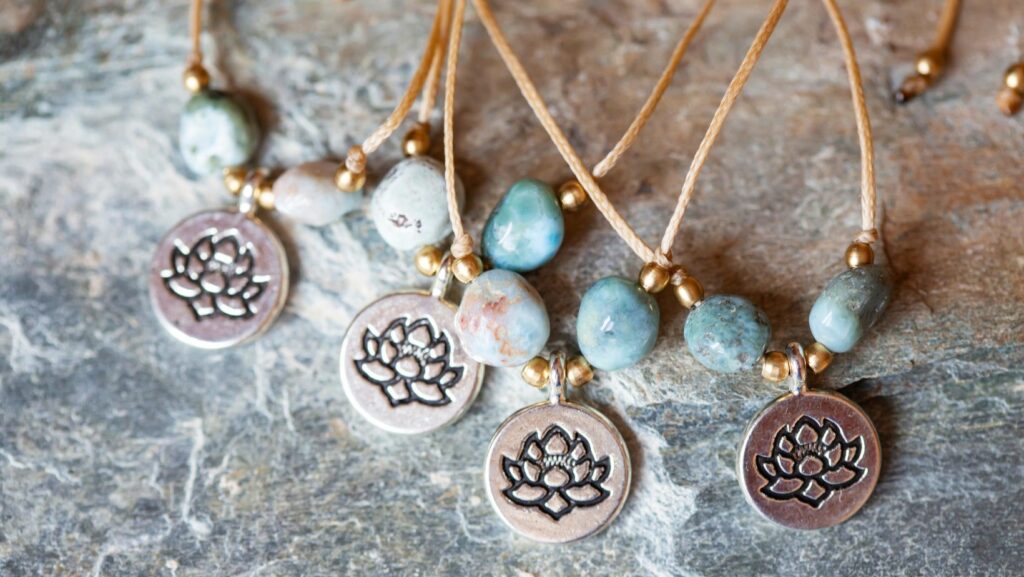
Second, you’ll need to decide how you want to add the beads. You can either string them onto the wire before you start coiling (this is trickier, but gives you more precise control over placement), or you can thread them onto the finished coil (this is easier, but leaves less room for error).
Here’s a quick rundown of how to add beads using both methods:
Stringing them onto the wire before coiling:
1. Cut a length of wire and thread on as many beads as you want.
2. Start coiling the wire around itself, making sure to go through all the beads as you go.
3. When you’re happy with the way it looks, cut off any excess wire and secure the end with a crimp bead or by wrapping it around itself several times.
Threading them onto the finished coil:
1. Coil the wire around itself until you have a length that’s about twice as long as you want your final piece to be.
2. Cut off any excess wire and secure the end with a crimp bead or by wrapping it around itself several times.
3. String on as many beads as you want, then bend the coil in half so that all the beads are centered in between the wires.
4. Wrap each end of the coil around itself several times to secure, trim off any excess wire, and voila! You’re done!
Wrapping It Up
There are endless possibilities when it comes to wire coil jewelry. By playing around with different colors, sizes, and shapes of wire, you can create unique and beautiful pieces that are perfect for any occasion. With a little practice, you’ll be a pro in no time!
Conclusion
We hope you’ve enjoyed this tutorial on wire coil jewelry. With a little practice, you should be able to make your own beautiful coil jewelry. Remember to use the proper gauge of wire for your project, and be sure to use a mandrel (or any other round object) of the appropriate size to get neat, even coils. Have fun!